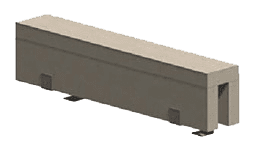
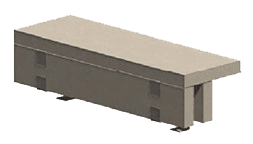
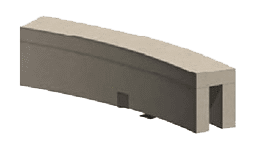
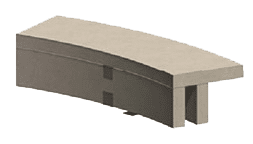
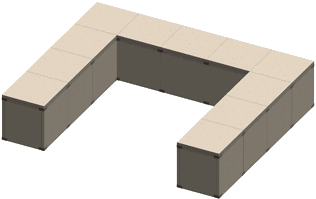
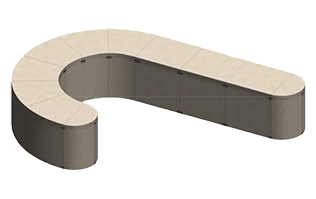
Cabinet Component System™ Outdoor Kitchen Islands
An Introduction
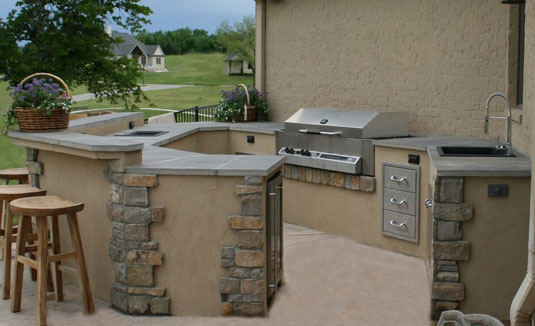
Stone Age’s Cabinet Component System™ modular masonry outdoor kitchen islands offer the utmost quality, strength, and durability, as well as unparalleled design flexibility for outdoor kitchens and entertainment areas.
Our patented lightweight, glass fiber reinforced concrete panel and galvanized steel bracket system creates infinitely configurable kitchen island layouts that assemble in minutes, yet deliver strength and durability far superior to other construction methods, providing a strong, stable foundation for appliances and kitchen equipment, that may be covered with any masonry-compatible finish.
Kitchen Island installations are greatly simplified, giving faster build times and lower labor cost, with no compromise in strength or quality.
Basic assembly takes minutes, and appliance openings may be cut immediately after the panels are set, using standard masonry saw blades.
Finishing may begin immediately after appliance openings have been made, and appliance installation may start as soon as the finish materials have cured.
SA-15L-WT & Bar Top Backsplash
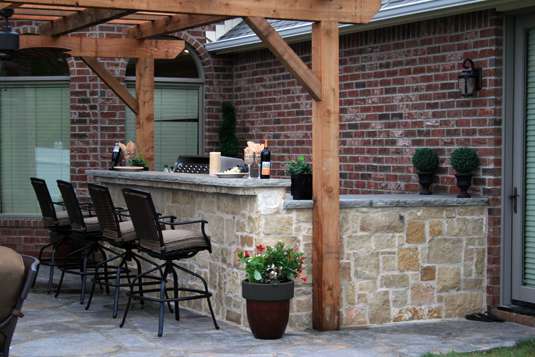
SA-15L-WT & Bar Top Backsplash
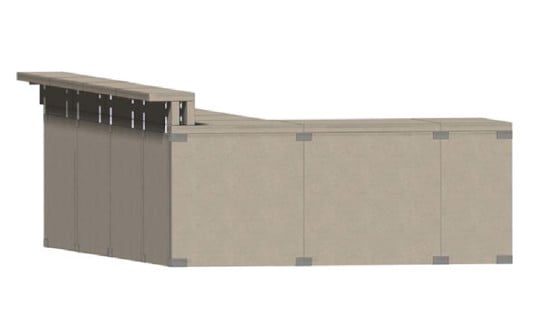
Custom Layout CombiningSA18F-WT, SA15FF-WT & BAR TOP BACKSPLASH
Performance, Value and Innovation
Under Construction

After Completion
Cabinet Component System™Understanding the Concept
Kits consist of 2 ” thick lightweight concrete panels of varying width, that are glued together using landscape block adhesive and galvanized steel brackets that further bond the panels for additional security. Upper brackets assist in easily maintaining a uniform depth and keeping the cabinets square during assembly.
Panels

Brackets

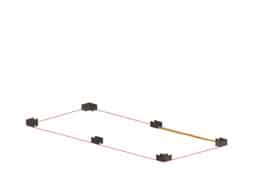
1. Create chalk outline & place brackets, using landscape block adhesive to secure brackets to pad. Set a continuous bead of adhesive for the first panel.
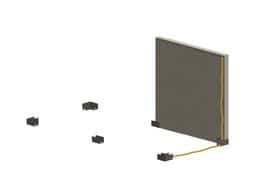
2. Begin with a wall panel at a corner, securing to the pad, and set the beads of adhesive for the adjoining end panel.
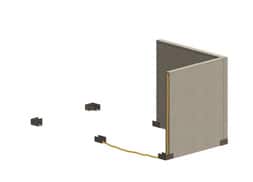
3. Add 1st end panel, securing to wall panel and adding adhesive beads for the bottom and end joint of the next panel.
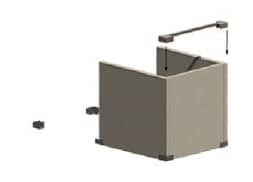
4. Add next wall panel and upper bracket.
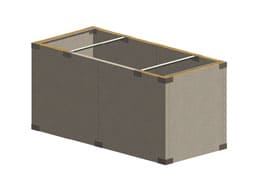
5. Continue placing panels and brackets to complete wall assembly. Set adhesive beads for the top panels.
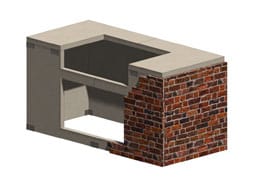
6. Make cut-outs and apply finish to unit before installing appliances.
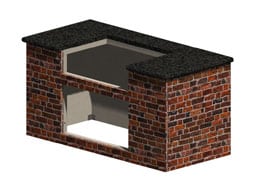
7. Drill anchor pilot holes into panels for doors and appliances.
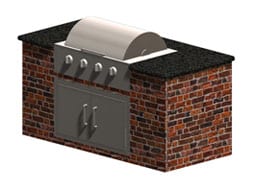
8. Installation Complete.
Assembly VideoIsland Assembly Overview
Assembly animation of a 24L Island
Understanding Island Kit SizingCommon Dimensions
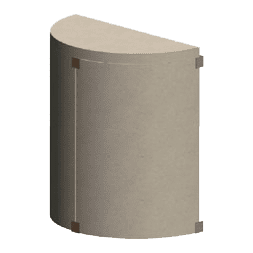
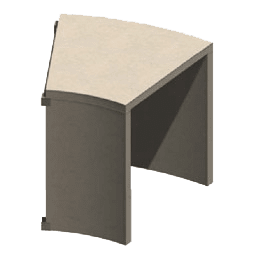
All Cabinet Component System™ kits feature several common dimensions, which greatly simplifies construction, allows different kits to be easily combined for limitless design freedom, and also facilitates simple integration with our fireplaces and wood-fired ovens.
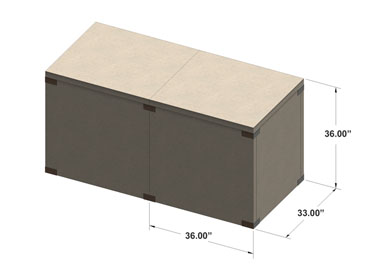
| Individual Panel Thickness (all kits) | 2" |
|---|---|
| Depth (all kits) | 33" |
| Radius (all Radiused Kits) |
36" Inside 69" Outside |
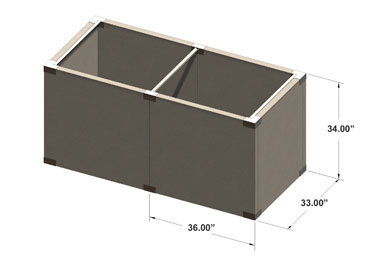
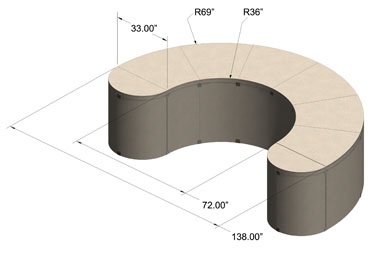
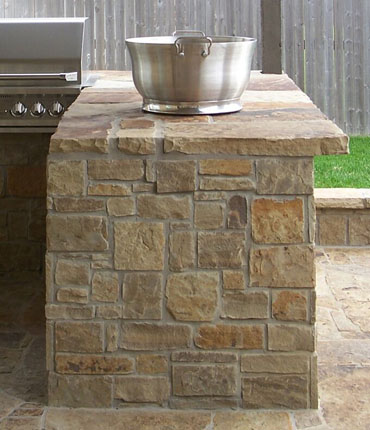
Height - Kits with Tops - 36"
Height - Kits without Tops - 34"

All kits are listed in 3′ increments, with sizes based on the nominal length of the shortest run, which is typically the front or work side and the side where the appliances are commonly placed.
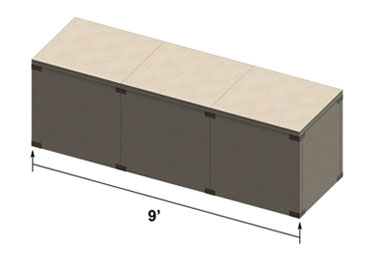
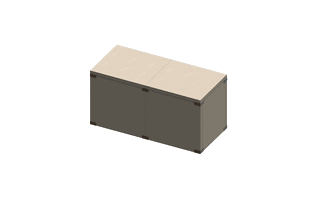
SA-9STR-WT
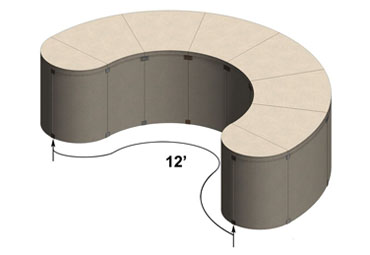
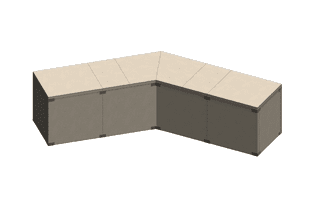
SA-12RC-WT
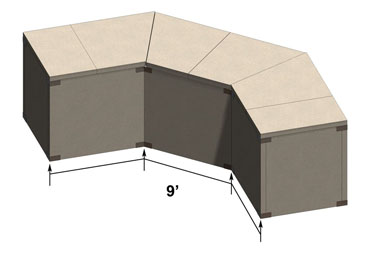
SA-9FF-WT
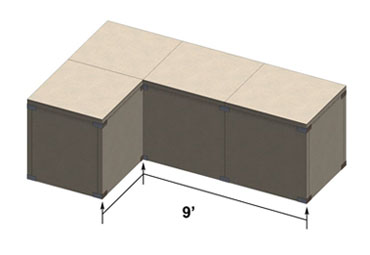
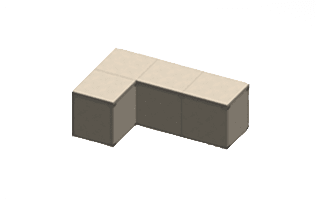
SA-9L-WT
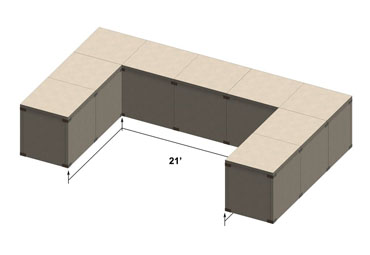
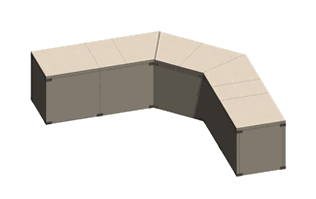
SA-21U-WT
Design Flexibility
Not all outdoor living areas or kitchen layouts are created in 3′ increments, and with the Cabinet Component System™, that is not a problem, as the kits are designed to be easily modified in the field to meet any length requirement or appliance configuration. It is as simple as trimming the length of the panels to fit your exact design, just as you would trim a wooden board. These modifications add minimal time to the assembly of the kit, and do not lower the strength or harm the structural integrity of the island.
Here are some examples of layouts and modifications, using our 9′ STR kit as the starting point.
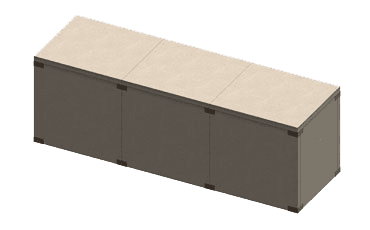
Assembled Before Creating Openings
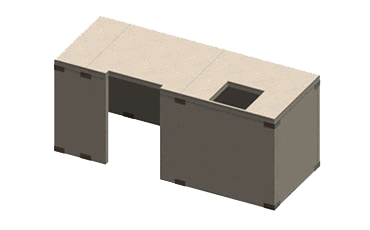
Trimmed to 7’ Length, With Fridge and Sink Cut-outs
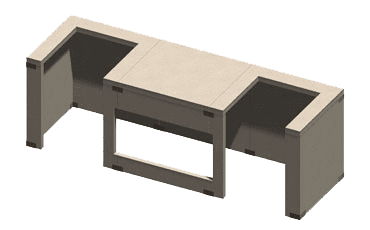
Full Prep Counter With Dual Fridge and Double Doors Cut-outs
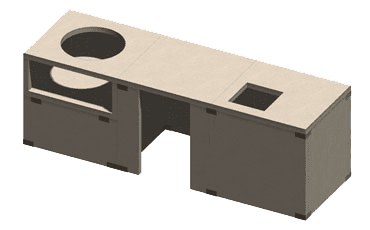
With Ceramic Cooker Kit, Fridge and Sink Cut-outs
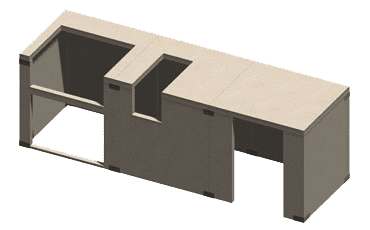
With Grill, Double Doors, Side Burner and Fridge Cut-outs
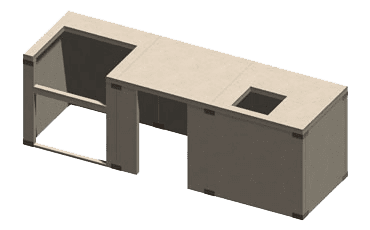
With Grill, Double Doors, Sink and Fridge Cut-outs
AccessoriesAccessories and Specialty Details for Cabinet Component System™ Islands
Cabinet Component System™ - Series, Models & Configurations6 Kit Series, 27 Models & Unlimited Configurations
Kits sized from 6′ to 36′
ComparisonsComparing The Cabinet Component System™ to Other Island Systems
Comparing the Cabinet Component System™ to other kitchen island systems or methods of construction clearly illustrates our advantages.
Our System
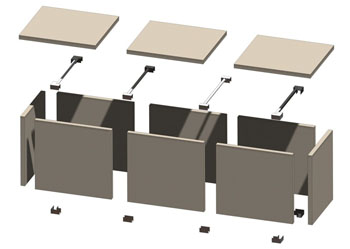
Panels and Brackets Assembled with Landscape Block Adhesive
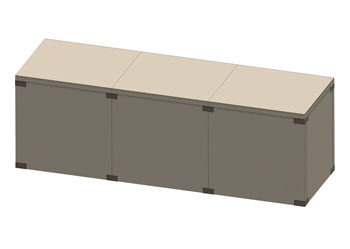
Assembled and Ready for Cut-outs and Finish Application
Benefits
- Simple Assembly
- Tremendous Time and Labor Savings
- Exceptional Durability
- Outstanding Strength
- Infinite Design Flexibility
- 27 Unique Kit Configurations
- Combine with Any Other CCS™ Kit
- Easily Customized in the Field
- Seamless Integration with Stone Age Fireplaces & Ovens
- Only Masonry System with Radiused Components
- Compatible with all Appliances and Masonry Finishes
- Easily Shipped, Easily Stored Prior to Assembly
- Wide Range of Accessories and Specialty Details
Drawbacks
- Higher Material Cost than Concrete Block or Metal Framing and Fiber Cement Board Construction
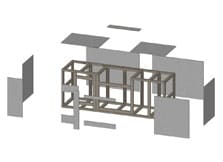
Metal Drywall Framing & Board Construction
Islands may be site-built from metal framing with fiber cement board, or in lesser quality installations, drywall board, or may be factory-built, with final assembly and finishing performed on-site.
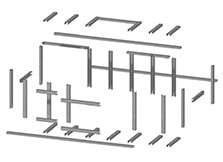
Metal Framing is Cut and Assembled
Fiber Cement Board is Attached to Framework
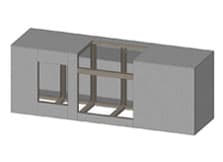
Assembled and Ready for Finish Application
Drawbacks
- Poor Durability
- Low Strength
- Easily Damaged During Assembly
- Labor-Intensive Construction
- May Require Surface Preparation Before Finish Application
- Limited Options/Appliance Layouts on Factory-Built Units
- Poor Shipping Characteristics on Factory-Built Units
Benefits
- Low Raw Material Cost
- Materials Readily Available
- Light Weight
Fiber Cement Box Construction
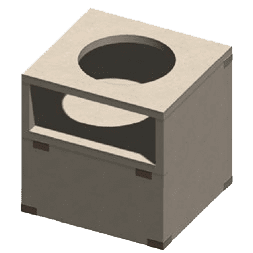
Fiber cement box style islands look similar to the Cabinet Component System™, but do not have the same structural integrity. Boxes are bolted and glued together, then openings are cut in predetermined areas.
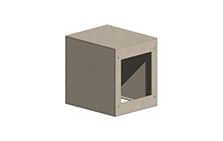
Individual Section

Assembly Using Bolts and Adhesive

Assembled and Ready for Cutting Openings
Drawbacks
- Labor and time-Intensive Construction
- Low Strength
- Easily Damaged in Shipping
- High Shipping & Storage Cost, Due to Size of Components
- Limited Cutout and Appliance Options
- Higher Cost
Benefits
- Large Number of Accessory Components Available
- Relatively Light Weight
Concrete Cinder Block Construction
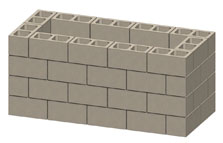
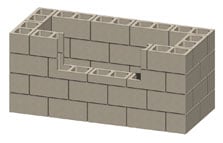
Islands may be site-built from concrete cinder block. This is the closest traditional construction method to the Cabinet Component System™. Openings are cut into the block structure once assembled, or block is pre-cut to create openings during construction.
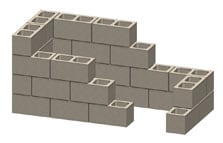
Block Shell, Assembled Using Mortar
After Full Assembly, Openings are Cut In
Assembled and Ready for Finish Application
Drawbacks
- Labor and time-Intensive Construction
- High Degree of Skill Required for Shell Assembly
- Considerable Loss of Interior Storage Volume
- Limited Counter Top Support, Due to Open Top
- Potential for Cracking Along Joint Lines
Benefits
- Low Raw Material Cost
- Raw Materials Readily Available
- Higher Strength Compared to Framing Methods
Concrete Panel Systems
Other concrete panel systems attempt to capitalize on the success of the Cabinet Component System™, yet fail to deliver most of our benefits. Some systems are using smaller panels, with a combination of screws and adhesive to assemble them.
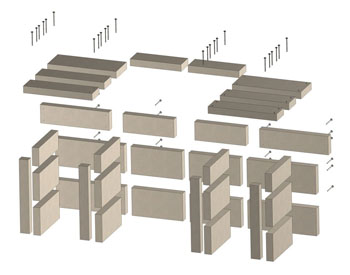
Island Shell Assembled Using Screws and Adhesive
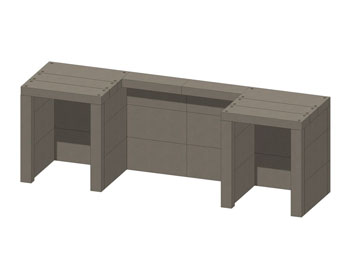
Assembled and Ready for Finish Application
Drawbacks
- Similar to Traditional Block Construction
- Labor and Time-Intensive
- Higher Degree of Skill Required for Assembly
- Limited Design and Layout Options
- No Backsplash or Bar Top Options
- No Radiused Options
- Difficult to Customize or Field-Modify
- Potentials for Cracking Along Numerous Joint Lines
Benefits
- Higher Strength Compared to Framing Methods
Concrete Panel Systems
Other concrete panel systems attempt to capitalize on the patented success of the Cabinet Component System™, using larger, thicker panels that more closely resemble the Stone Age product at a glance than other products on the market.
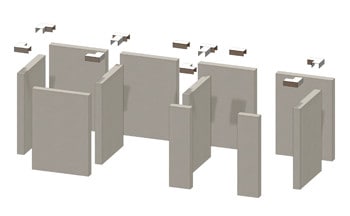
Block Shell, Assembled Using Mortar
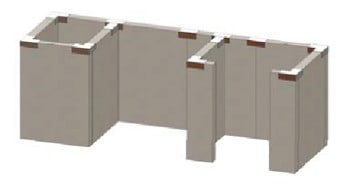
After Full Assembly, Openings are Cut In
Drawbacks
- Labor and Time-Intensive Construction
- Mortar Required for Assembly
- Incomplete Bracketing System
- Limited Counter Top Finish Options, Due to Open Top
- No Backsplash or Bar Top Options
- No Radiused Options
- Potentials for Cracking Along Mortar Joints
Benefits
- High Strength Compared to Framing Methods
- Simpler Construction than Concrete Block

